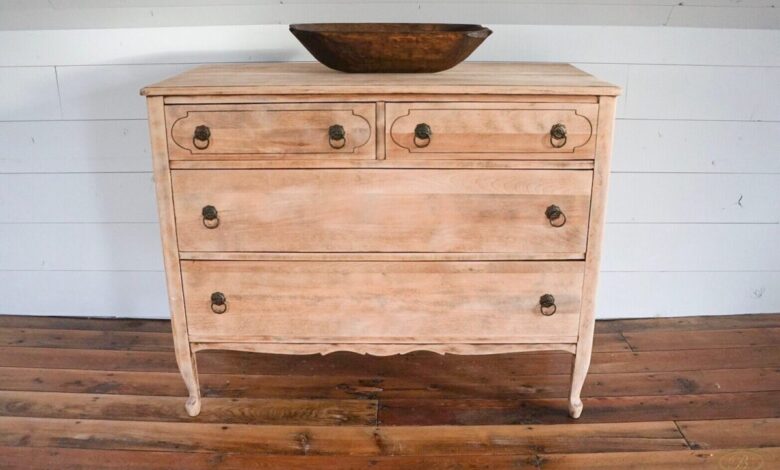
Revive and Shine: How to Restore Antique Furniture with a Wood Dye

Restoring wooden furniture is a fulfilling way to breathe new life into cherished pieces while preserving natural beauty and charm. Whether it’s an heirloom table, a vintage chair, or a thrift store find, refinishing wood with dye kits can transform faded, scratched, or worn furniture into something stunningly rejuvenated. With the right tools, techniques, and a touch of patience, you can bring out the rich grains and unique character of wood, giving your furniture a fresh start. This guide walks you through the process, step-by-step, ensuring your project is a success.
Step 1: Gather Your Materials
Before diving into your project, assemble all the necessary materials to ensure a smooth restoration process. You will need the following items:
- A wood dye kit (available in various shades at hardware stores or online)
- Sandpaper in coarse, medium, and fine grits
- Tack cloth or a damp microfiber cloth
- A high-quality paintbrush or sponge applicator
- Protective gloves
- A drop cloth or newspaper to protect your workspace
- Clear sealant (optional for added durability)
Choose a well-ventilated workspace, as many wood dyes can emit strong odors. Lay down your drop cloth to catch spills and protect your surfaces.
Step 2: Prepare the Furniture
Proper preparation is key to achieving professional-looking results. Since your beloved antique wooden piece has seen years of use, begin by cleaning it thoroughly. Use a mild detergent to remove dirt, grease, and dust. Let the piece dry completely.
Next, you must use sandpaper to remove the existing finish. Start with a coarse grit to strip off varnish or paint, then move to medium grit to smooth out imperfections. Finish with fine-grit sandpaper to create an even surface for the dye. Always sand in the direction of the wood grain to avoid scratches. After sanding, wipe the surface with a tack cloth to remove all dust particles.
Step 3: Choose and Mix Your Wood Stain
Wood dye kits come in a variety of colors, ranging from natural tones to vibrant hues. Select a shade that complements the furniture and your décor. If your stain kit includes concentrate, dilute it according to the manufacturer’s instructions to achieve the desired intensity. Testing the dye on a scrap piece of wood or an inconspicuous furniture area is a good idea to ensure you like the color.
Step 4: Apply the Dye
Apply the dye evenly across the wood surface with your paintbrush or sponge applicator. Remember to work in small sections to avoid streaks or blotches, and maintain consistent strokes along the grain. Allow the first coat to dry according to the kit’s instructions, which can take 15 minutes to a few hours.
For deeper or richer color, apply additional coats, allowing each to dry completely before proceeding. Remember that wood dye penetrates the surface, enhancing the grain’s natural patterns rather than masking them like paint would.
Step 5: Seal and Protect
Consider sealing your furniture once the dye has dried to protect the finish and ensure long-lasting results. A clear sealant, such as polyurethane or shellac, will add a protective layer while enhancing the dye’s vibrancy. Use a clean brush to apply the sealant evenly, again following the direction of the grain. Let the sealant cure completely before using the furniture.
Step 6: Add Finishing Touches
After sealing, inspect your furniture for any rough spots or uneven areas. Lightly sanding with fine-grit sandpaper, followed by a final wipe with a tack cloth, can smooth out imperfections. If you’re feeling creative, add personal touches such as stenciled designs or metallic accents to make the piece truly one-of-a-kind.
Conclusion
Restoring wooden furniture with a dye kit is a rewarding DIY project combining craftsmanship and creativity. Following these steps, you can transform tired furniture into a statement piece that showcases its natural beauty and seamlessly fits into your home. Not only does this process save money, but it also reduces waste, contributing to sustainable living. So grab a dye kit, unleash your inner artisan, and give your furniture the second chance it deserves.
Keep an eye for more latest news & updates on Usa Tech Magazine!


